
“What the hell is that?” – The Neighbors
The title says it all but I’ll expand on it. Over the past 6 months I’ve been further increasing my ability to mix real world and virtual world together. Not through VR/AR/MR but through actual physical devices. (I’ve also ended up doing my share of XR, but when your day job is software development soldering and gluing things together seems way more fun!)
So when someone started talking about controlling a RC Mech in VR I was like: I can do that! (Ok, so it’s a tank not a mech, and it’s not in VR (yet).)
I got almost all the parts off of Amazon, the parts used in the tank come to about $40 (I spent more than that, but only because some components where cheaper to buy as multiples and I needed to buy a couple tools).
- Tank Chasis (w/ motors)
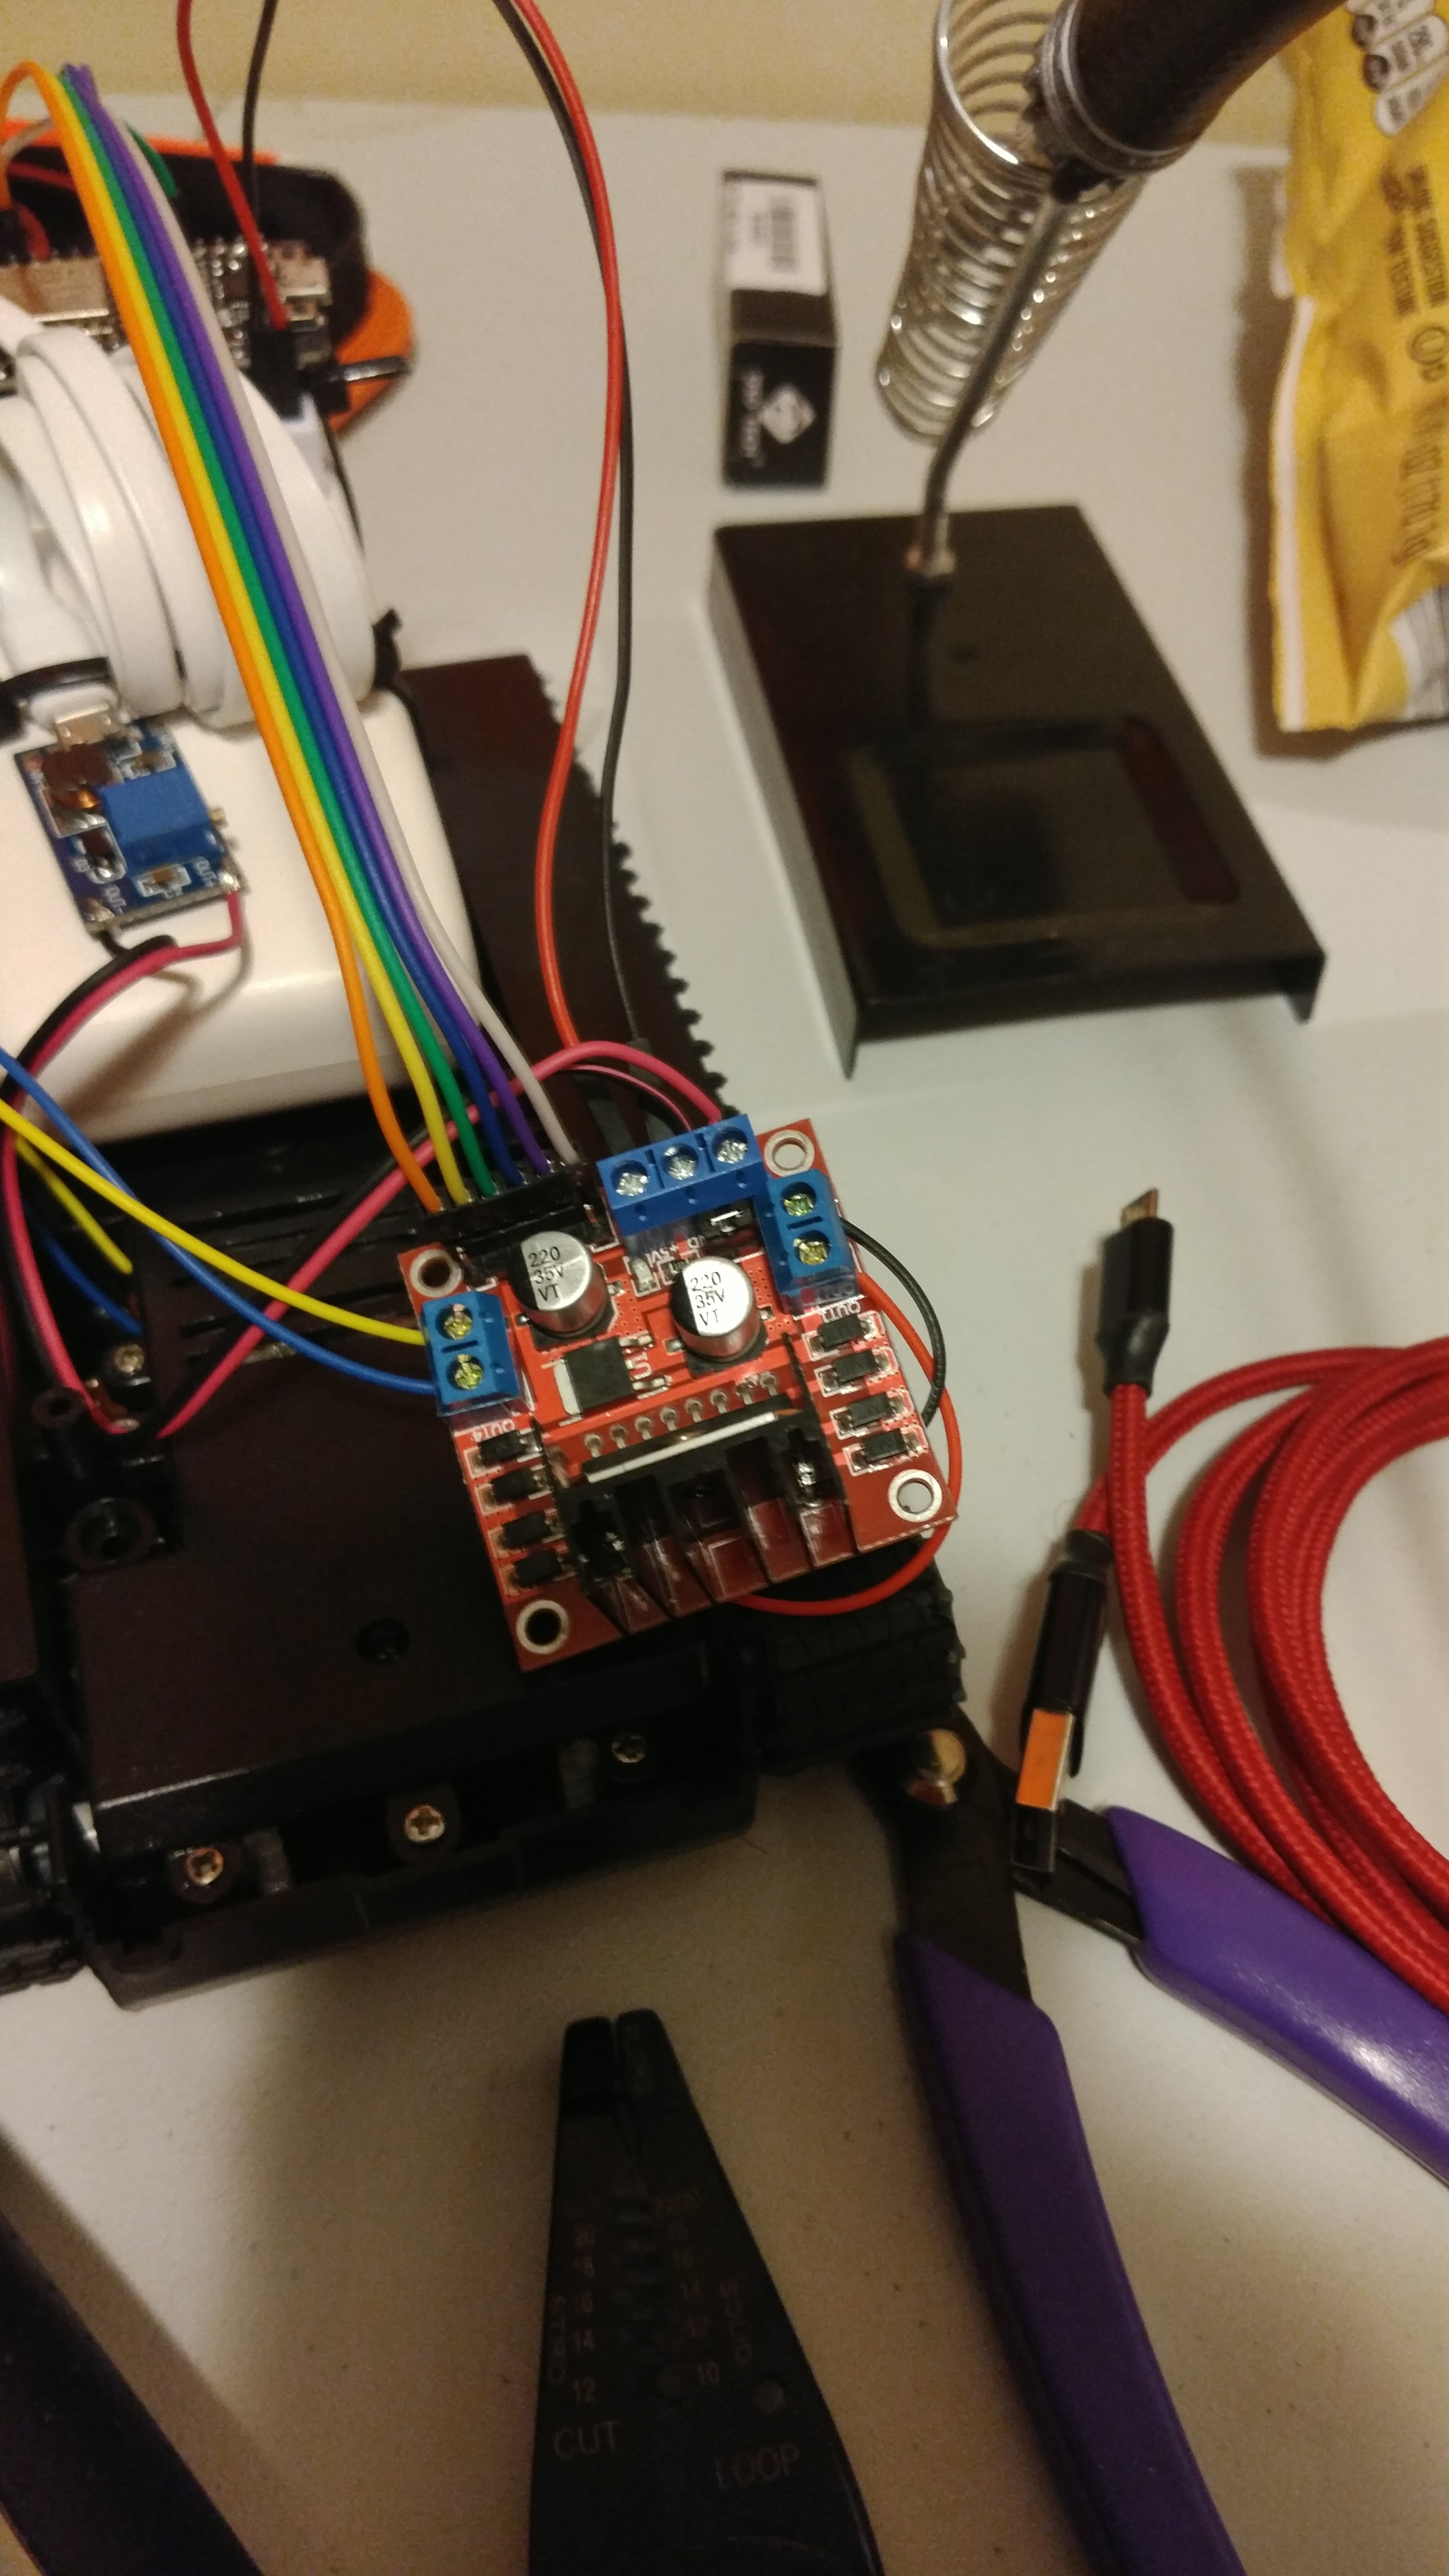
- Motor Driver L298N
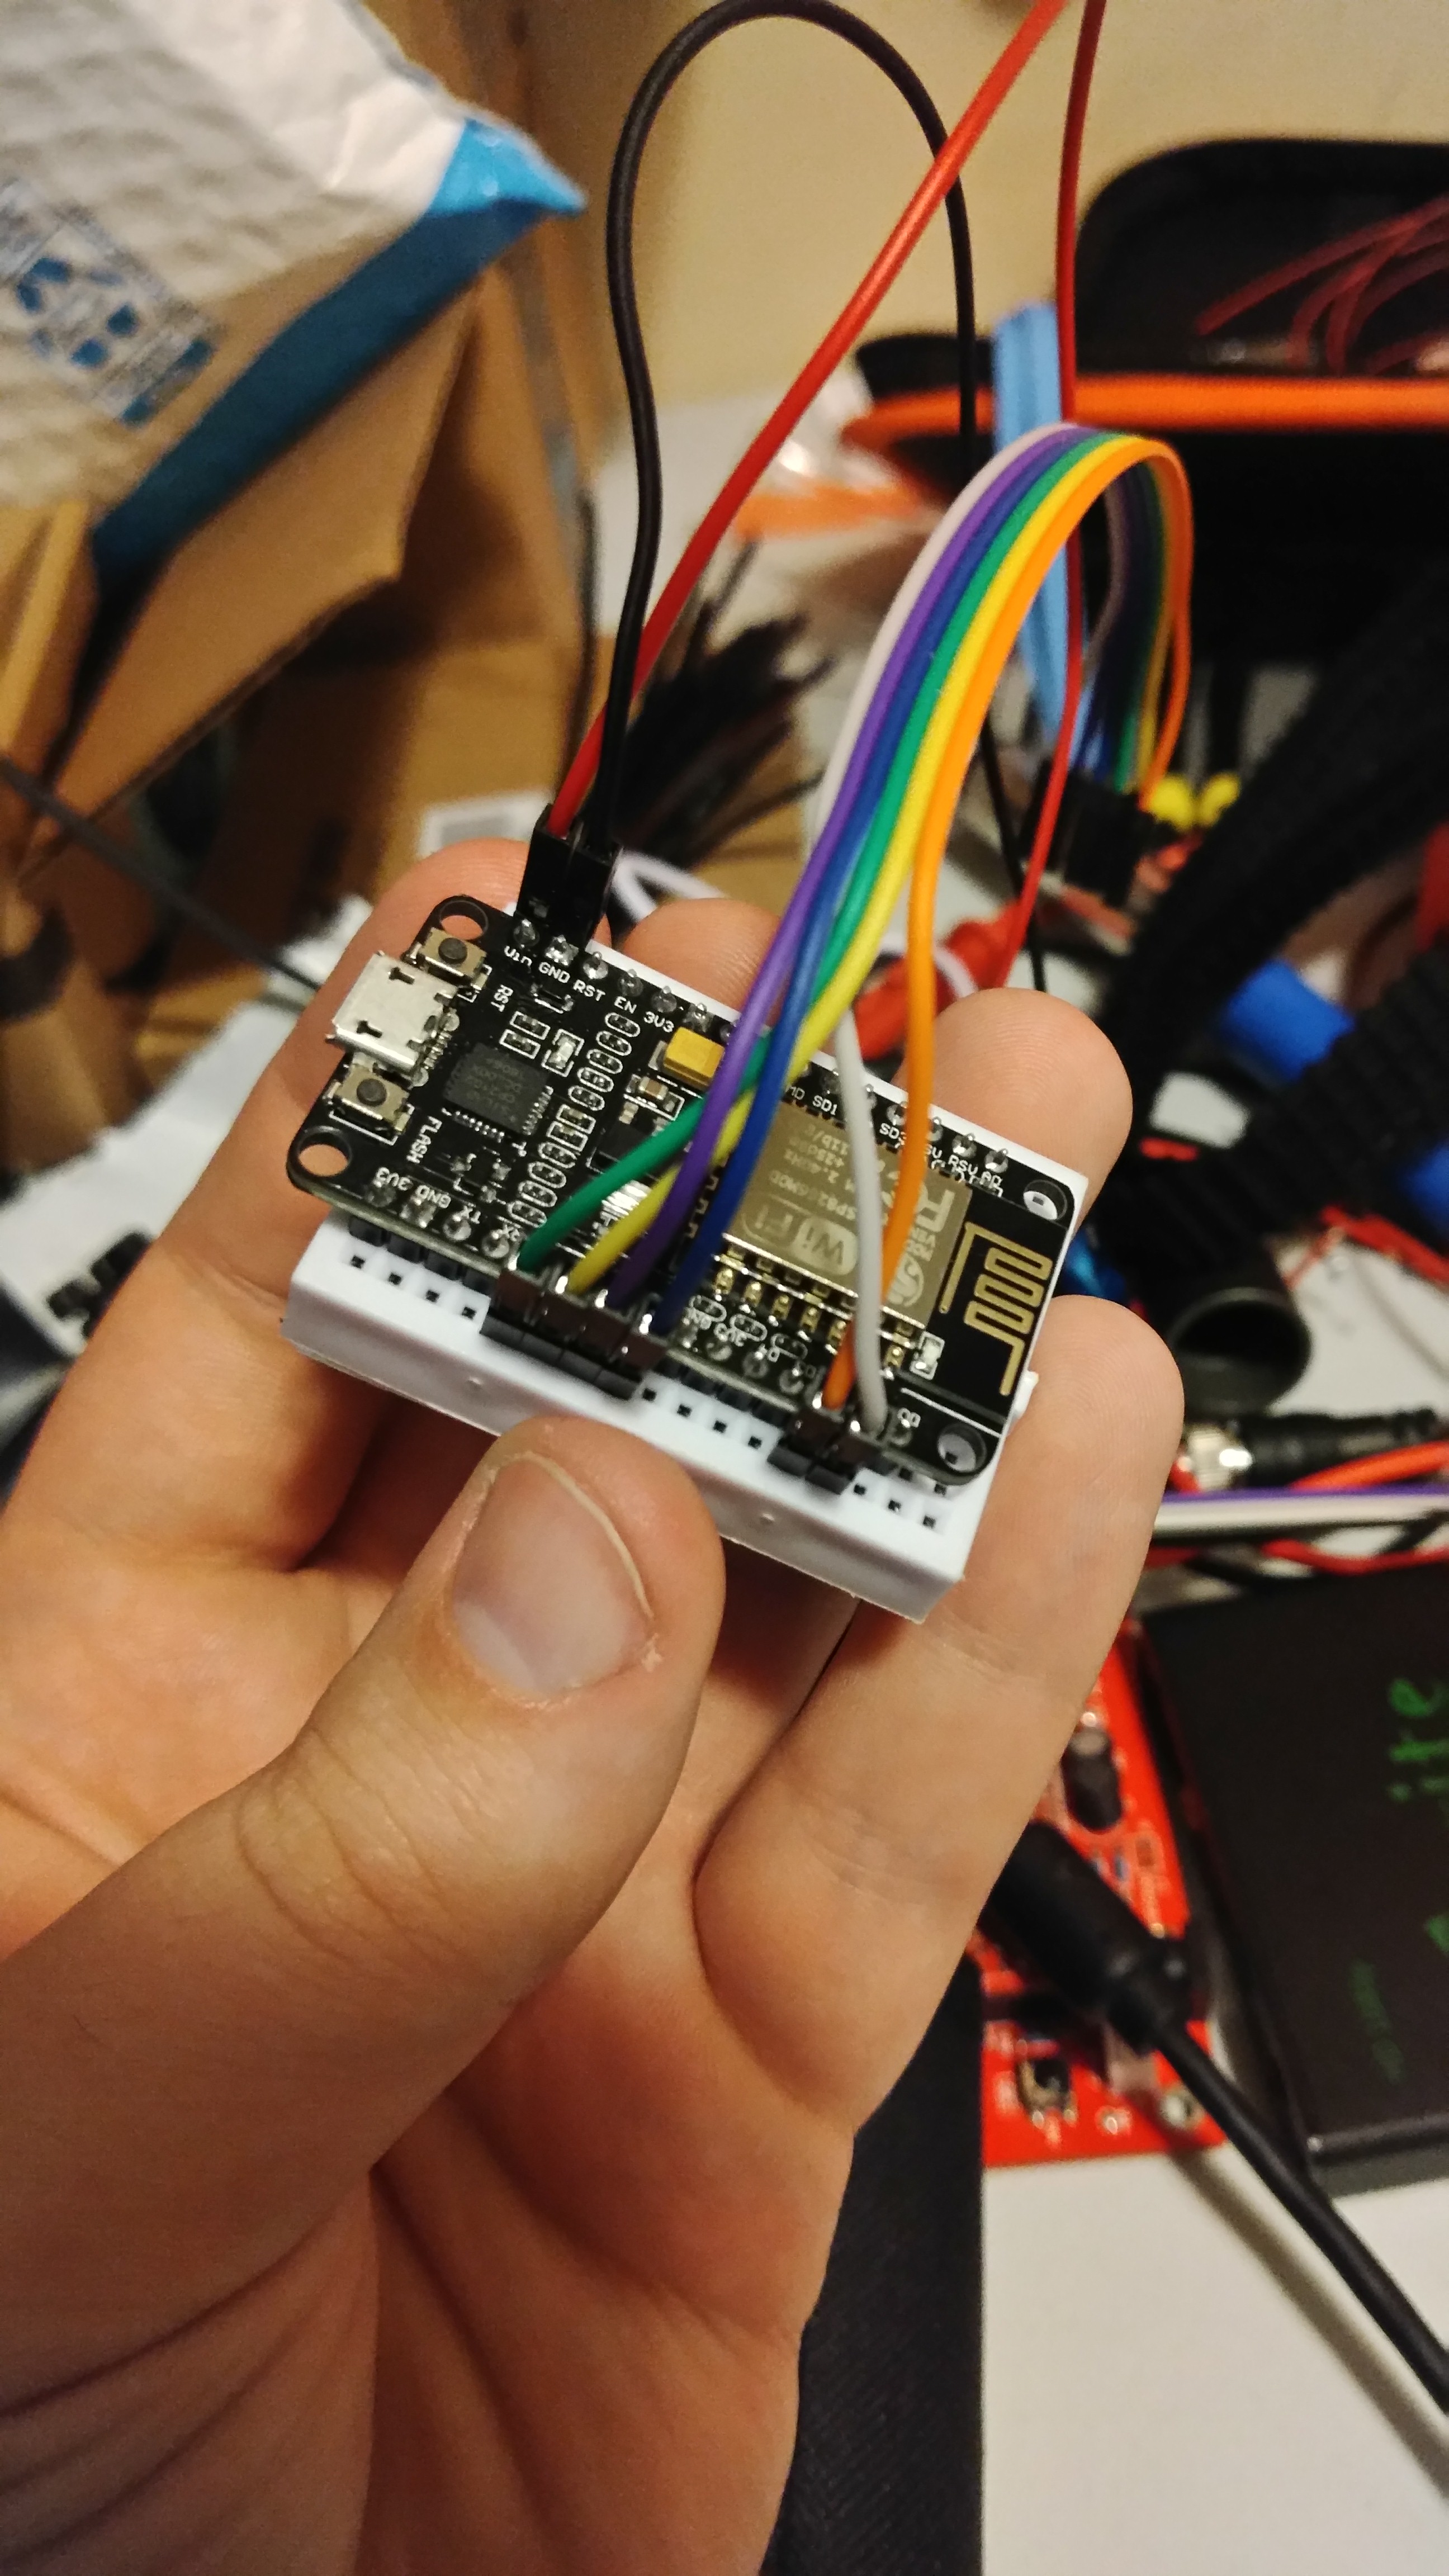
- ESP8266 (communicates with server and controls motors)
- ESP32-Cam (provides camera feed)
- Mini breadboards
- Breadboard Jumpers
- USB Battery from 5 Below
- 2x 9v Battery Snaps + batteries (actually attached 3 in parallel but couldn’t cram the third battery in)
As well as hot glue, wire, zip ties, a little solder (could’ve used wire nuts), and screws from a donor toy.
Wiring
There are plenty of guides for how to wire up a L298N and setup an ESP32-Cam server so
I’m going to focus on integrating Unity and the Arduino. Unity sends input from the gamepad to the tank making it move and the tank transmits a camera feed with Unity streams.
MQTT
I’ve been using MQTT for a lot of quick and dirty networking because the subscriber model is easy to prototype with: there’s just 1 fixed/hard coded server and everything just publishes it’s IP address. It’s lightweight and has a lot of power, but it’s little slow.
Every device comes alive registers to it’s topics control announces it’s IP Address. (The IP address is retained so that newly connected clients can still find everything.)
ESP8266
This board is doing the least amount of work. It subscribes to the drive topic and writes message to the appropriate pins. In a future version I would save the money (and battery power) and make the ESP32 the driver as well as the camera.
ESP32-Cam
The firmware on this board is this tutorial modified with an MQTT blast containing it’s IP address.
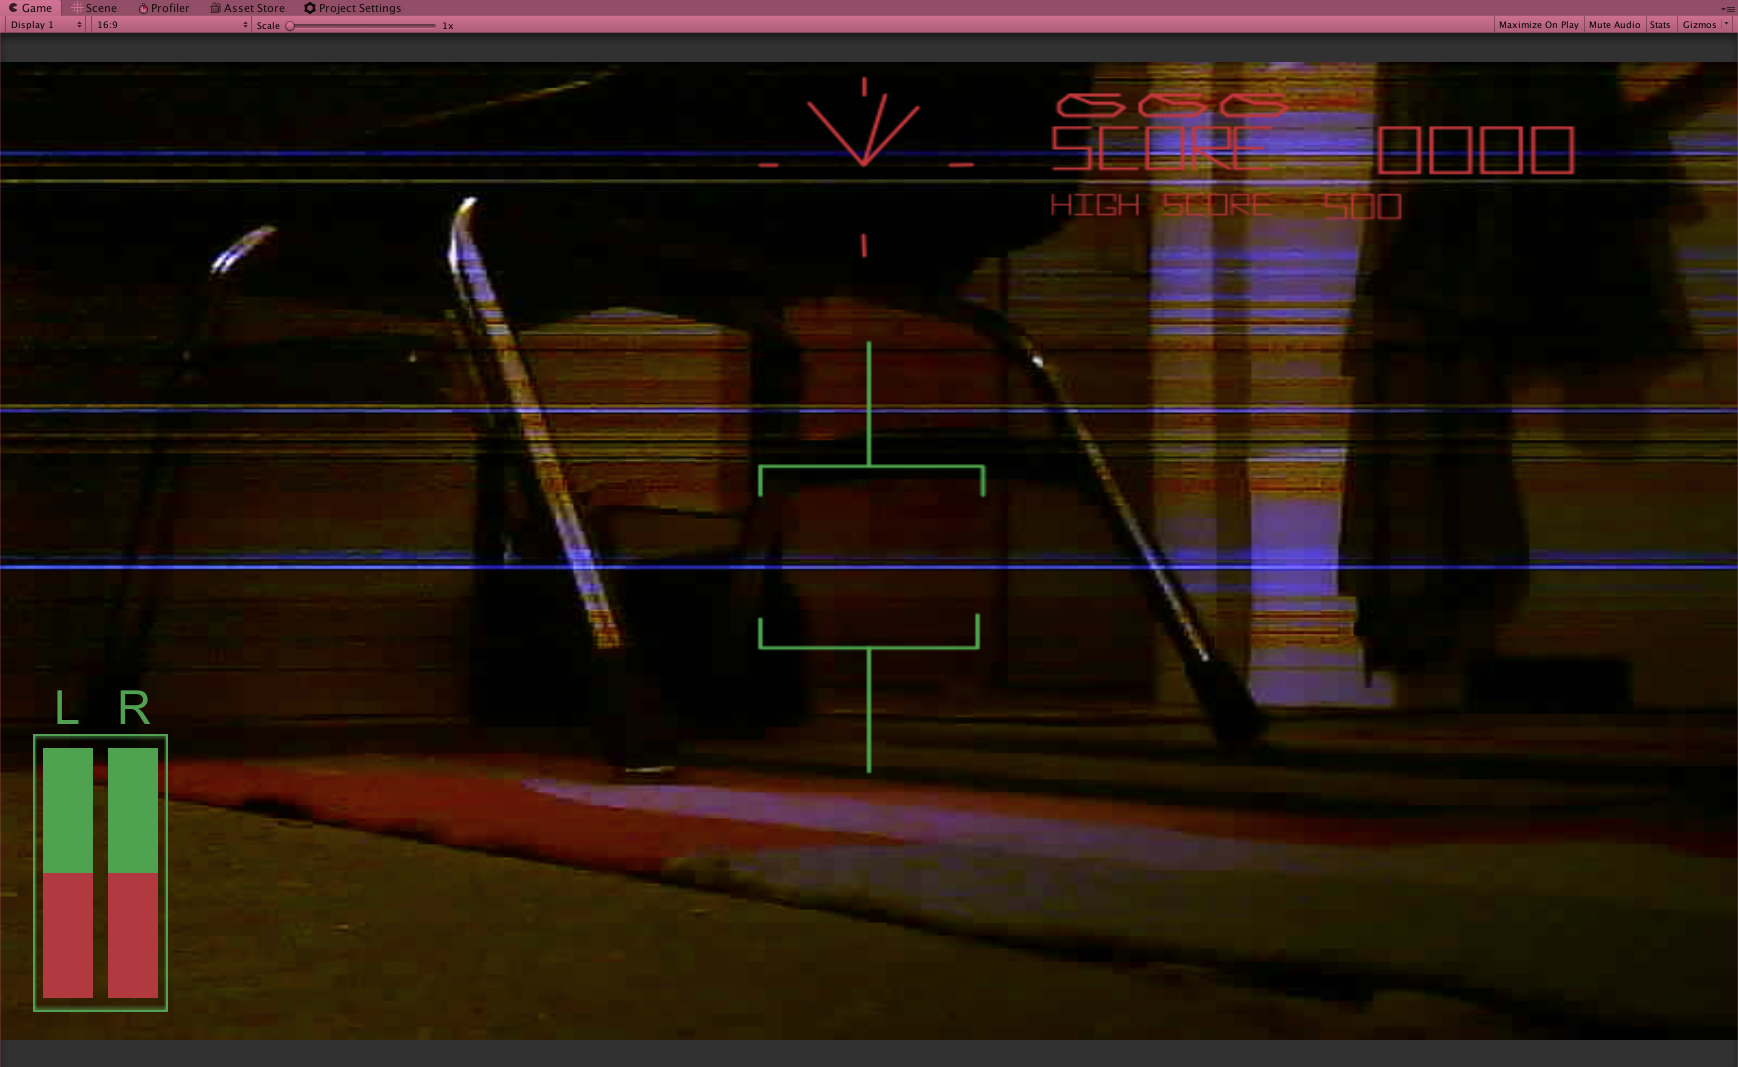
Unity
There are two major components in the Unity project; TreadInputToMQTT.cs and MJPEGStreamDecoder.cs.
The TreadInputToMQTT script hooks into the input system and waits for input from either the left/right sticks or the W/S Up/Down keys and then dispatches a message to the drive topic with the new state. (The ESP8266 is subscribed to the drive topic and updates the L298N)
The MJPEGStreamDecoder is just a quick dirty decoder I wrote because I couldn’t find one that worked. (It’s pretty straight forward, almost everything you need to know is on the Wikipedia Page.) It dumps JPEG data into a RenderTexture which is displayed in the Canvas.
If I did it again, I would probably make an attempt to run it all off of just the ESP32 board and use a better power source for the motor driver which would hopefully let me use the L298Ns 5v supply mitigating the need for the USB battery. Breadboard jumpers are great for doing things quickly, but after disconnecting/reconnecting them repeatedly there’s already a short or two, so I’d also improve those connections. I would keep MQTT for messaging, but would use a direct socket connection for the controller input from Unity. I would also setup a HoTaS for control because I think that would be totally baller.
